Short answer
What makes a PR box work?
A useful PR box connects the product, the presentation, and a clear message without making packing unnecessarily complicated. Start with the actual products and delivery plan, choose a box that fits them, then add only the tissue, filler, insert card, or sticker that improves the unboxing. Test the full set in the closed box before approving production.
1. Define the campaign before choosing packaging
Decide what the recipient should notice first: a new product, a product collection, a seasonal launch, or a message from the brand. This gives the kit a clear hierarchy. List the products, any samples or accessories, and the message card before choosing a box size or artwork.
Also plan where the kits will be packed and how they will travel. A package delivered to a creator’s home may have different handling and presentation needs from a larger campaign shipped to a studio or fulfillment partner. Confirm the delivery destination and timing early so the packaging plan can account for the finished packed set.
2. Choose the box around the packed products
Measure the products and any inner cartons, pouches, trays, or dividers that will stay in the box. Use finished inside dimensions when planning the space. Allow room for the product arrangement and closure, but avoid adding so much empty space that products can move or the presentation looks unfinished.
A custom mailer box can carry the outer branding and open as the presentation box. Depending on product fragility and the delivery route, the kit may also need a fitted insert, additional protection, or a separate shipping carton. Confirm the construction and packing sequence with the supplier for the actual set.
For dimensions and structure, compare the mailer box and tuck-top box guide. The best structure depends on product fit, opening, display, and how the package will be handled.
3. Add branded layers with a clear purpose
Wraps or layers products and can introduce a brand color or printed pattern. See the custom tissue paper options.
Adds visible color and volume around products. Select a shade and amount after testing it in the box; it is not a substitute for a protective insert when one is needed. Browse paper raffia filler colors.
Welcomes the recipient, explains what is included, or gives one useful next step. Explore insert cards and QR cards.
Closes tissue or adds a small brand mark. Check adhesion on the actual box or wrap; see sticker sheets vs round seals.
These elements do not all need custom printing. Choose one or two high-visibility places for the main brand message, then coordinate supporting items through color, material, or a short card message.
4. Plan the opening sequence
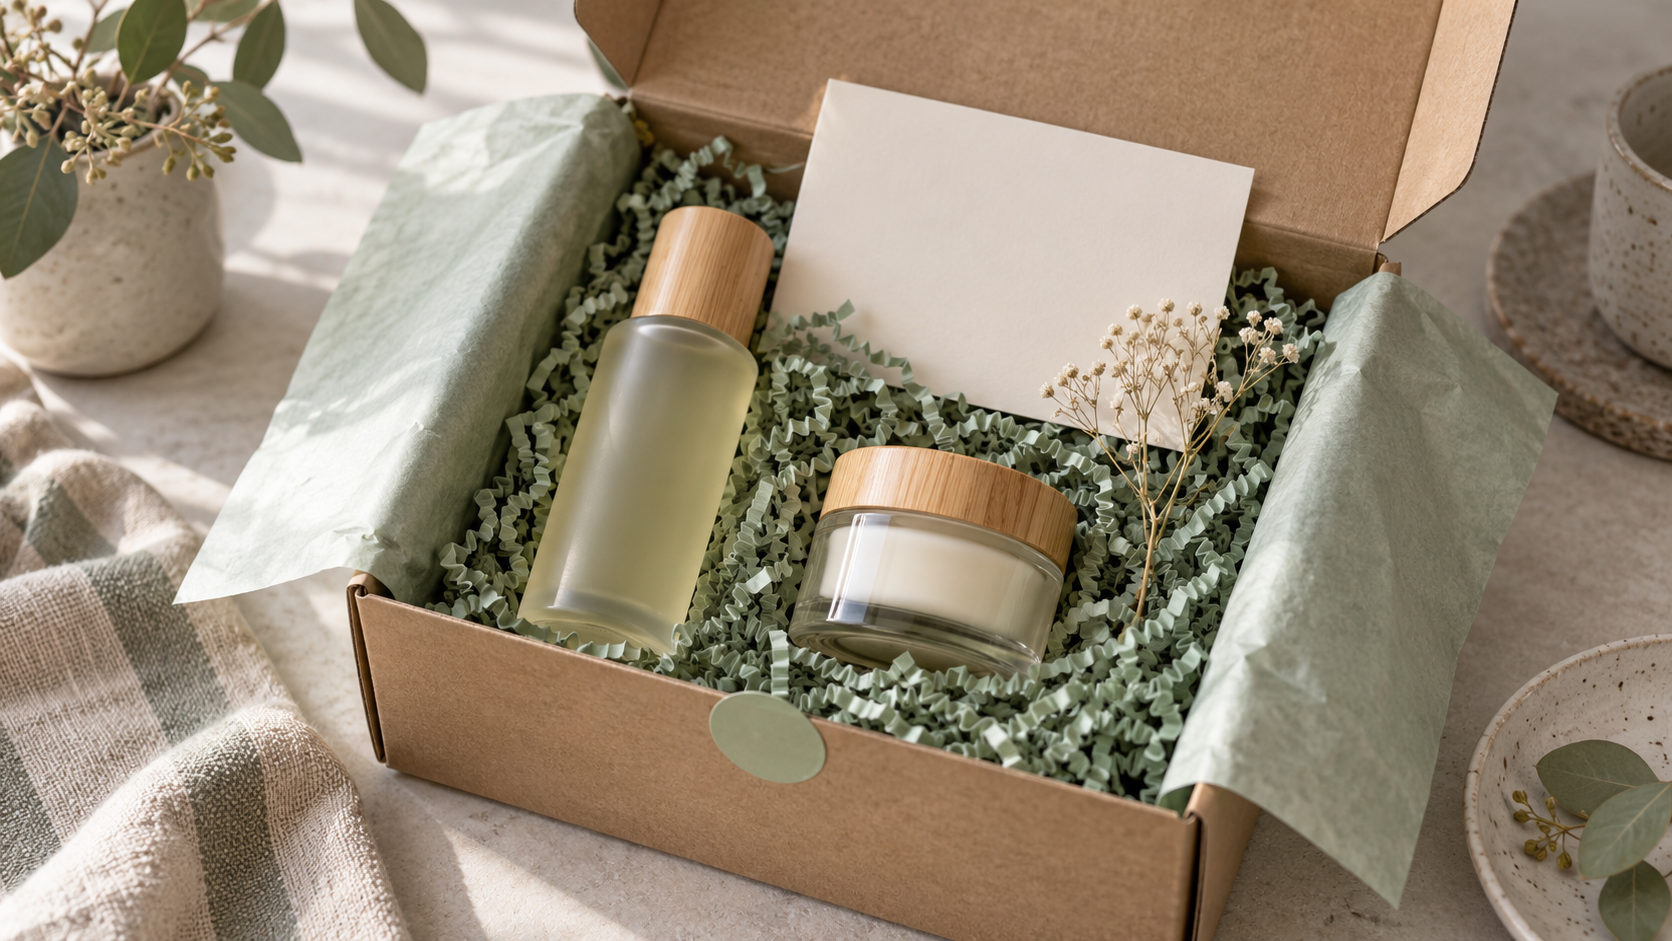
Arrange the contents in the order you want them to be seen. A recipient might first see the outer box, then a seal or message, then tissue, and finally the products and insert card. Make sure the first visible message is not buried underneath the product or hidden by filler.
Keep the layout practical for the person packing each kit. If every box requires a precise color mix, folded wrap, product orientation, and several small inserts, document that sequence with a packing photo or sample. The packaging should be repeatable across the campaign quantity.
5. Test the complete packed box
Use the actual products and all planned packaging pieces in a finished-size sample. Check that products fit, the lid closes without pressure, tissue and filler stay in place, cards are readable, and stickers adhere to the intended surface. Reopen and repack the box to see whether the sequence is manageable for the packing team.
Test for movement after closing. If products shift, add a suitable insert, divider, wrap, or other protective component and repeat the test. Decorative filler can improve the presentation, but fragile or heavy products may need a separate protection plan. For sample choices and approval checks, read the custom packaging sample guide.
Supplier quote checklist
- Product names, dimensions, weights, and photos
- Number of products or samples in each kit
- Preferred box type, finished inside size, and quantity
- Which components need custom printing and on which surfaces
- Tissue, filler, inserts, stickers, trays, or dividers required
- Packing sequence or a reference photo of the intended layout
- Whether the supplier packs the set or ships components separately
- Destination country, postal code, and target delivery date
Ask the supplier to list the box, printed components, inserts, packing, samples, and freight clearly. If you are still deciding what to include, the custom packaging quote checklist can help you prepare the core specifications.
Updated October 9, 2026. This guide provides planning suggestions, not a fixed box specification, protective-performance claim, quote, or delivery promise. Final materials, structure, packing, sample method, and shipping plan depend on the confirmed products, quantity, artwork, destination, and production arrangement. The hero image is illustrative.
FAQ
Influencer PR box planning questions
What should go inside an influencer PR box?
Start with the product and one clear message. Add only the packaging elements that support the unboxing, such as tissue, paper filler, an insert card, or a closure sticker. The right set depends on the product, campaign, budget, and how the box will be shipped.
Which box is best for a PR kit?
Choose a box after checking the packed product dimensions, weight, delivery route, and presentation needs. A custom mailer box can combine the outer package and branded presentation, while some campaigns may use a separate shipping carton. Confirm the structure and protection plan for the actual shipment.
How do I stop products moving inside a PR box?
Arrange the actual products and inserts in the finished-size box, then test movement and closure. Use a fitted insert, divider, wrap, or suitable cushioning when the product needs more support. Decorative paper filler alone should not be assumed to protect fragile or heavy items in transit.
Do all items in a PR box need custom printing?
No. You can prioritize one visible branded surface, then use plain or coordinated supporting materials. For example, a printed box can be paired with simple tissue and a card, or a plain box can use a branded insert or seal. Compare the complete set and packing work.
When should I request a packaging sample?
Request a sample when box fit, product movement, opening sequence, color, print placement, finish, or assembly needs approval. Use the sample type that can answer the specific question, and test the real packed set rather than reviewing the empty box alone.
What information is needed for a PR box quote?
Share the product dimensions and weight, finished box size or reference, quantity, each packaging component, artwork and print surfaces, packing method, destination, and target date. Product and layout photos help the supplier understand the intended presentation.